
Product images have been enhanced with AI. To see the actual products, contact our sales team for photos of the machines on site.
Blow Mold
PET blow molds for two-step and one-step stretch blow molding. Built for SIDEL, KRONES, SIG/KHS, TECH-LONG and NEWAMSTAR two-step machines and SIPA, ASB and AOKI one-step machines. Covers water, CSD, hot-fill and aseptic beverage bottles as well as containers for food, edible oil, condiments, cosmetics, toiletries and pharmaceuticals, from bottle design and preform matching to finished mold.
- Machine compatibility: two-step machines: SIDEL, KRONES, SIG/KHS, TECH-LONG, NEWAMSTAR; one-step machines: SIPA, ASB, AOKI.
- Beverage applications: Water, CSD, hot-fill and aseptic PET bottles.
- Other containers: Food, edible oil, condiment, cosmetic, toiletry and pharmaceutical packaging.
- Mold set: Mold shells, base molds and neck plates supplied as a complete set, with conversion parts for running one mold on different machines.
- Bottle development: Bottle design, preform matching, lightweighting and wall thickness optimization.
Quotes and technical questions are handled directly by the manufacturer's international sales department.
Related Products
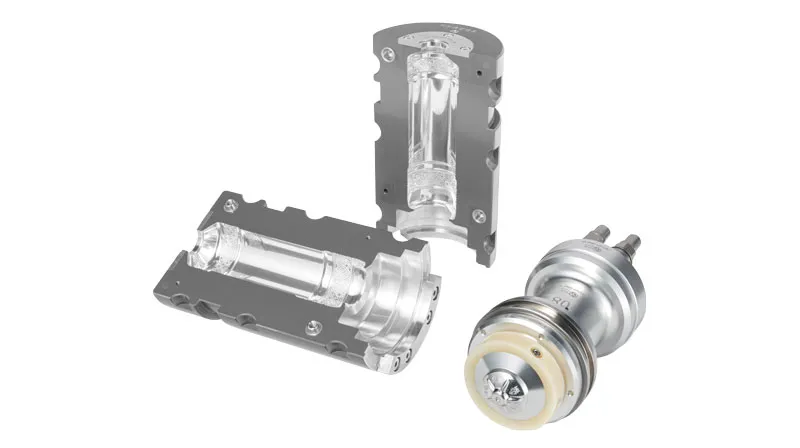
Cold Fill Blow Mold — KHS Platform
Cold fill PET blow molds built for KHS (formerly SIG) InnoPET Blomax stretch blow molders. Designed ...
View Details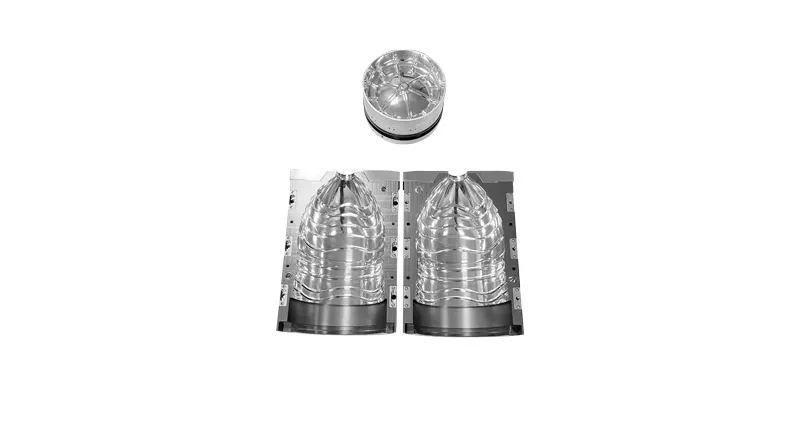
Blow Mold for Disposable Bottled Water
Blow molds for single-use still water bottles, where bottle weight and output speed decide productio...
View Details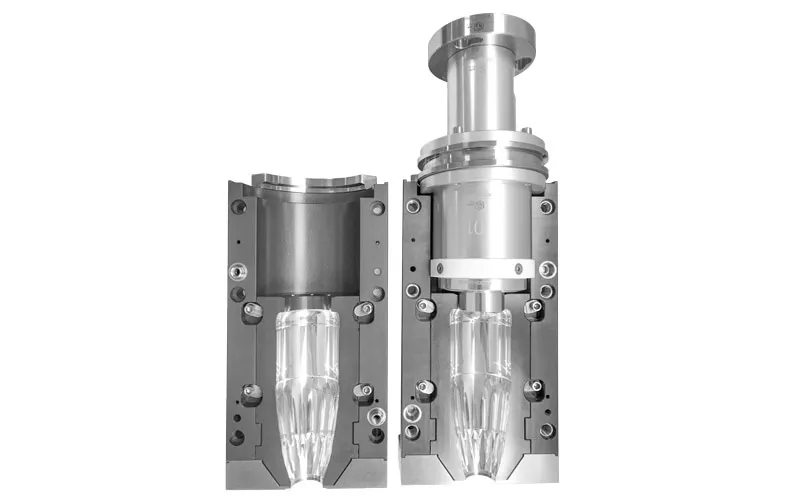
Split-Type Quick-Change Blow Mold
Blow molds with a split structure: the bottle-shaped cavity inserts are separated from the mold shel...
View Details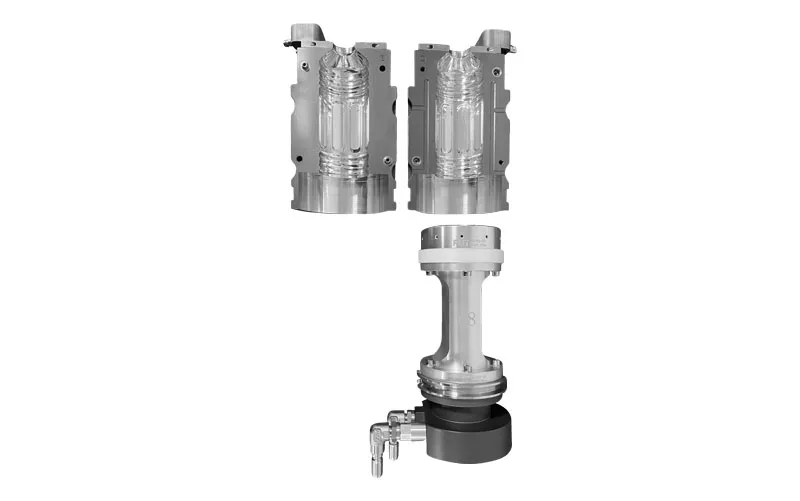
Cold Fill Blow Mold — Krones Platform
Cold fill PET blow molds built for Krones Contiform stretch blow molders. Mold shells, base molds an...
View DetailsProduct images have been enhanced with AI. To see the actual products, contact our sales team for photos of the machines on site.
Blow mold set technical reference: mold shells, base molds, neck plates, cooling, venting and bottle development
A blow mold set is the group of parts that one blowing station needs to form a PET bottle: two mold shells, a base mold and a neck plate, plus conversion parts where the mold must fit a different machine. This reference explains what each part does, how materials, cooling, venting and surface finish are chosen in general terms, and the steps from bottle design to approved trial bottles. Use it when you prepare a new bottle project or check an existing mold set.
Parts of a PET blow mold set and what to check
On a rotary blow molder every station carries its own set, so a machine with many stations needs the same number of identical sets. Each part has a clear job, and each one has typical points to check when a set is received or returned from production.
| Part | Function | What to check |
|---|---|---|
| Mold shells (two halves) | Form the bottle body, shoulder and label panel; carry cooling or heating channels | Parting line fit, cavity surface, vent slots, cooling connections |
| Base mold | Forms the bottle base, the thickest and most stressed area; usually cooled separately | Base profile, centering to the shells, vent holes in base feet |
| Neck plate | Supports the preform neck and support ring so the finished thread is not deformed | Seat diameter, wear on the contact faces, alignment with the stretch rod |
| Cavity inserts (split-type molds) | Exchangeable cavity parts inside a fixed outer shell for quick format change | Locating faces, fastening, sealing of cooling passages |
| Conversion parts | Adapt one mold design to the mold carrier of another machine | Mounting dimensions and locking interface of the target machine |
Blow mold materials in general terms
No single material suits every part. The choice balances heat transfer, wear, corrosion and weight, and it is agreed for each project according to output, filling type and the machine.
- Aluminium alloys: light and good at conducting heat, so the bottle cools quickly; easy to machine and polish, which makes them a common choice for cavity shells on cold fill molds.
- Stainless steels: resist corrosion from cooling water and condensation and keep their surface longer; often used for base molds, high-volume molds and parts that run warm.
- Tool steels: hard and wear resistant, used for parts with sliding or clamping contact such as neck plates and locking elements.
- Weight matters on quick-change machines: lighter shells are easier for operators to handle during a format change.
- Hot fill molds run at elevated temperature for long periods, so material and cavity finish are selected for long-term operation under heat.
Cooling channel design in blow mold shells and base molds
The bottle must be cool and stable before it leaves the mold, so cooling has a direct effect on bottle quality and on how fast the machine can run. Channels are drilled or milled close to the cavity and connected to the machine's water circuit through the mold carrier.
- Shell cooling follows the cavity shape so the bottle wall cools evenly from shoulder to base.
- The base mold has its own circuit because the base holds more material and stays warm longest.
- Flow is balanced between all sets on the machine so that every station produces the same bottle.
- Clean, treated water keeps the channels free of scale; scale acts as insulation and makes bottle quality drift.
- In heat-set molds the same idea is used in reverse: the shells carry hot oil to hold the PET at an elevated temperature.
Venting and surface finish of the blow mold cavity
When the preform expands, the air between the PET and the cavity wall must escape in a very short time. If it cannot, the bottle shows soft details, rounded edges or trapped-air marks. Surface finish and venting are therefore designed together.
- Vent slots along the parting line let air leave the main body area.
- Small vent holes or vent inserts are placed in deep details such as logos, ribs, grip areas and the feet of a petaloid base.
- A finely blasted (textured) cavity surface helps air escape and is often used outside the clear label areas.
- A polished cavity gives a glossy bottle surface; any scratch or mark on it transfers directly to every bottle.
- Matte, frosted or embossed designs are produced by local texturing or engraving of the cavity.
- An accurate fit between the two shells and the base mold keeps the parting line on the bottle thin and even.
Bottle development steps: from design to preform matching, mold and trial
A new bottle is developed as a project in which the bottle, the preform and the mold are checked against each other before the full set is built. LIHE's engineering and design center uses CAD/CAM, 3D simulation and flow analysis before production.
- Step 1: Collect the requirements: capacity, target bottle weight, neck finish, filling method, label size, carton or pallet limits and the blow molding machine.
- Step 2: Design the bottle in 3D and calculate the brimful and nominal volume; if only a sample exists, it can be measured to create the drawing.
- Step 3: Match the preform: check stretch ratios, wall thickness and weight so the preform gives even material distribution in the bottle, or propose a new or lightweighted preform.
- Step 4: Build a pilot mold (published lead time 20 days) and blow trial bottles on the customer's machine type.
- Step 5: Test the trial bottles for wall thickness distribution, volume, top load and, for carbonated products, pressure resistance; adjust the design if needed.
- Step 6: Approve the design and produce the full mold set (standard PET molds 8 weeks), with inspection on the in-house Zeiss CMM.
- Step 7: Install the set and support machine start-up, with installation and start-up assistance available from the technical team.
Spare parts, conversion and refurbishment of blow mold sets
- Replacement parts such as base molds, neck plates and cavity inserts have a published lead time of 4 weeks.
- Keeping spare base molds for high-volume bottles prevents one damaged part from stopping a station.
- Conversion parts let an existing bottle design run on another machine brand without a new bottle approval.
- Lightweighting projects adjust the bottle geometry and base design together with the preform, which can reduce the PET used per bottle.
- Mold refurbishment programs restore worn sets; validation and inspection reports are available on request.
Frequently asked questions
- Why is the base mold a separate part of the blow mold?
- The base is the thickest and most stressed area of the bottle, and on most machines the base mold moves separately from the shells. A separate part can have its own cooling circuit, can be changed when only the base design changes, and can be kept as a spare.
- Can you build a blow mold from a sample bottle without a drawing?
- A sample bottle is a useful starting point. Send it together with your requirements and ask LIHE sales to confirm whether the 3D model and drawing can be produced from it; LIHE's QC lab includes a 3D profile scanner and bottle sample inspection equipment. The preform still has to be matched, and trial bottles are checked before the full set is produced.
- What does preform matching mean?
- It means checking that the preform's length, diameter, wall thickness and weight suit the bottle, so that the PET stretches evenly into every part of the cavity. A poorly matched preform causes thin spots, thick bases or haze, even in a well-made mold.
- Do all blowing stations need identical mold sets?
- Yes. Each station produces bottles for the same line, so the cavity, base and venting must be the same in every set. Sets are inspected to the same drawing so bottles from all stations behave the same on the filler and labeller.
- Can an existing blow mold be changed for a lighter bottle?
- Often it can. Lightweighting usually combines a lighter preform with changes to the base and wall geometry. Whether the existing shells can be modified or new cavity inserts are needed depends on the size of the change.